Setting your Embroidery Hoop
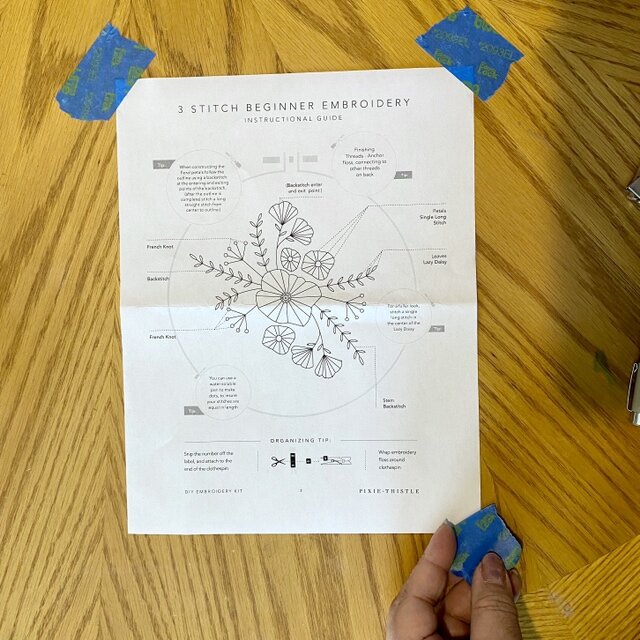
Step 1
Tape your image down. I always use painters tape, you can use any tape you like.
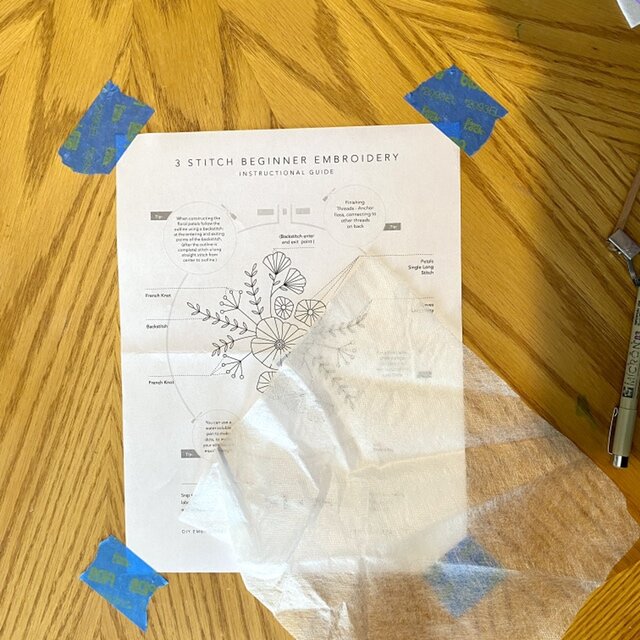
Step 2
Center and flatten your water dissolvable interfacing on top of your taped down image. Tape your interfacing down.
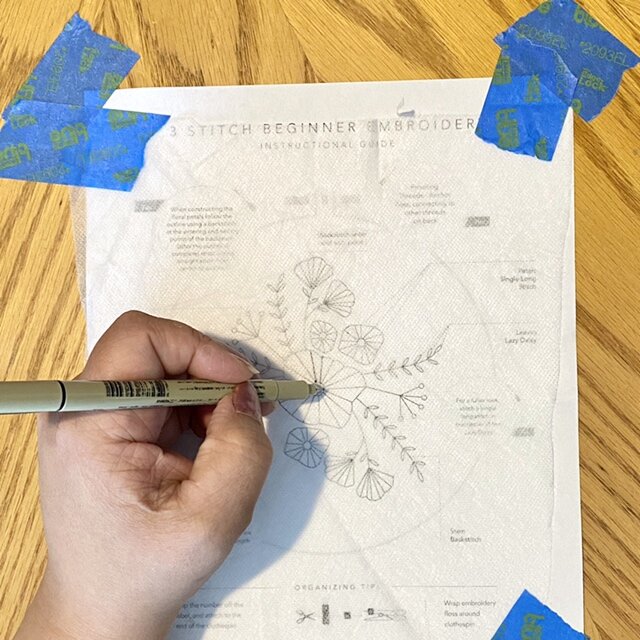
Step 3
Trace your image using a non-bleed pen. Set aside the traced image.

Step 4
Stack your hoop

Step 5
With the hoop apart, place the inner circle of the hoop on the illustration. Time to make a embroidery sandwich. place the wool felt on top of the hoop.
Step 6
Layer the interfacing with the image you traced on top of the wool felt.

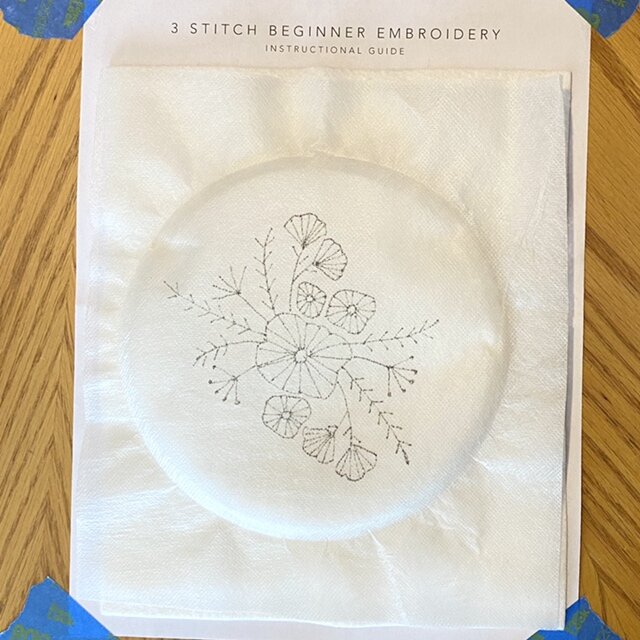
Step 7
press the outer circle of the hoop down over the layers. you may have to adjust the hoop screw at the top (a little at a time) of the hoop to loosen the circle. After the hoop is together tighten the screw and pull excess fabric tight. everything should fit together like a drum top.
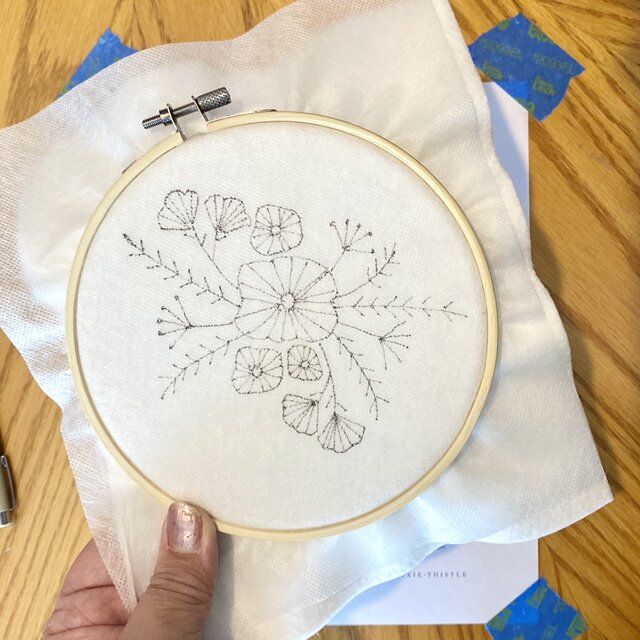
Ready
Your hoop is now set and your ready to stitch!